Muc-Off UK
 Muc-Off EU
 Muc-Off US
 Deutsch
 Espanol
 Francais
 Italiano
 Nederlands
 Polski

New bikes come into our workshop day in day out, and sometimes it’s easy to take that for granted. Once in a while though, a custom beauty will make its way in and remind us all why we love bikes so much.
When Muc-Off rider Duncan Shaw rocked up with his brand-new custom sprayed Inspired Fourplay frame, we knew we were in for a good time. Duncan’s a proficient mechanic and seeing as we had all the tools and products he could ever wish for at hand, we thought we’d let him handle the job of putting his new trials bike together (whilst we filmed of course).
Watch as Duncan Shaw takes us through a full bike build from A to Z. Want tips? Read on below…
WHERE TO START?
Even if you’re just swapping frames, or fitting new forks, it’s best practice to clean all the bits you have first. Threads are particularly important, ensuring you don’t contaminate any new parts and your new ride goes together squeak-free.

If you've bought a frame or suspension forks second-hand, it’s a good idea to bring life back to the paintwork with Miracle Shine, which will help fill in minor scratches and bring out that glossy finish. We recommend doing this before the build as some sections will be hard to reach when fully built.
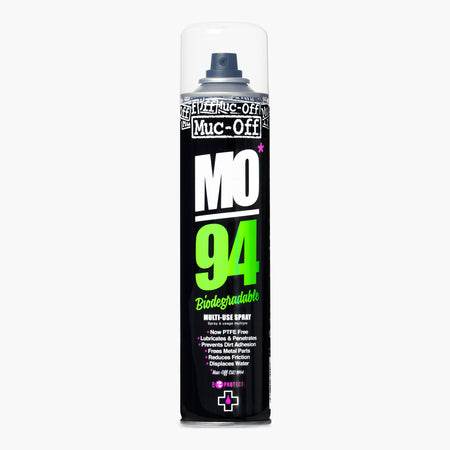
Equally, if you're fitting new parts to an old frame, you'll need to clean the threads around the BB (bottom bracket) area and for this MO-94 does a brilliant job. It breaks down any dirt, rust and grease that may be hanging around in there.
The same is true for press-in BBs – any contaminants on the surface will lead to a creak and you don't want to knock out a press-in BB, trust us!
PRE-BUILD BIKE CHECK
Once clean and apart, check you have everything together and go through the build in your head. Here’s a handy parts checklist to get you going:

- Saddle & Post
- Headset
- Forks
- Bars, Shifters, Brakes Levers
- Bottom Bracket
- Crankset
- Derailleurs
- Cables/ Hoses
- Brake Callipers
- Wheels
BUILD TIME
Now it's time to put your new bestie together! Often the most enjoyable part, so take your time, enjoy and remember to grease all threads and headset cups.
If using carbon bars or seat posts, don’t forget the Carbon Gripper! If you have a Ti frame build, use anti-seize on the frame threads – you’ll thank us later…


Now your bike is back together, I bet it is covered in grease marks and fingerprints? Sweat not, simply spray that off with Disc Brake Cleaner and wipe down with a Microfibre Cloth.
Finally, put your Disc Brake Covers on and use Silicon Shine, followed by a quick wipe with a microfibre cloth to get your new toy all sparkly.


Once done, go ride, you’ve earnt it!