Muc-Off UK
 Muc-Off EU
 Muc-Off US
 Deutsch
 Francais
 Espanol
 Italiano
 Nederlands
 Polski


When you’re bombing it down a hill or going fast on a busy road you need to know that your brakes are going to respond as quickly as you do when you need them. In this blog, we'll talk through how to adjust & tighten rim brakes (often called V-Brakes), where there is typically a brake pad on either side of the wheel, positioned near the bike forks.
Firstly, let’s talk about why you would want to adjust your bike brakes. It could be that they are rubbing on the rim or feel too slack to bring you to a quick stop when you’re ripping it just a bit too hard. They may also be a bit too responsive, and you just need a quick adjustment to your riding style.

What You'll Need
- Correct tool for adjusting brake pads mounting nut
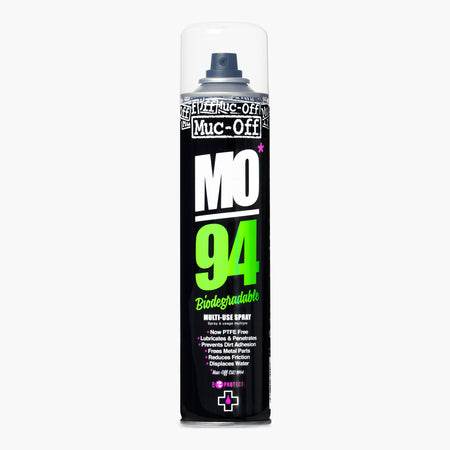
- MO-94
- Disc Brake Cleaner
- Mechanics Gloves
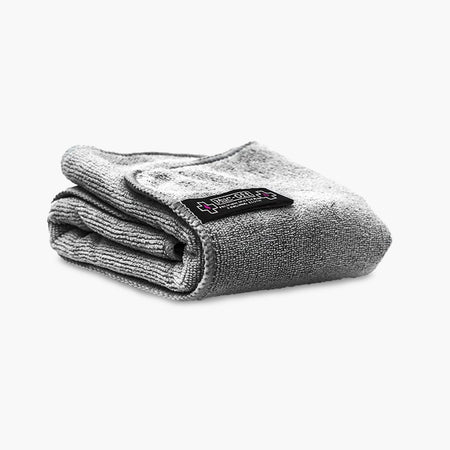
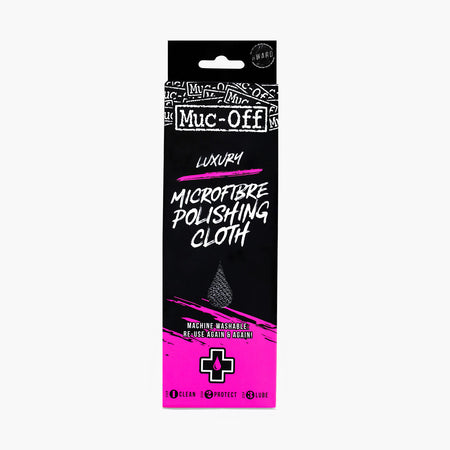
- Microfibre Cloth
How To Adjust Your Brake Levers
- The ideal brake adjustment should leave a gap of around two fingers width (around 3-4cm) between the handlebar and the brake lever when squeezed. If it’s almost touching the handlebar, then it’s time to tighten up. Test pulling the brake levers and see how much of a gap there is when fully squeezed.
- Alter the barrel adjusters - that’s the cog that sits over you brake cable, by your brake levers. Try to get that gap between the handlebar and the brake lever to around two finger lengths in width (around 3-4cm). If the brake levers are almost touching your handlebars, then you’ll want to tighten the barrel adjusters. If they are too stiff, then do the opposite, loosen up the barrel adjusters. This will adjust the tension on the brake cable between the callipers and the brake lever.
- When you’ve got the barrel adjuster to the right level of tension, you can then tighten up the locking nut to hold the barrel adjuster in place.
- While you’re maintaining this part of the bike, we recommend spraying a quick burst of MO-94 in the hinges of your brake lever. This will help to lubricate the moving parts and allow the lever to move around more freely if it’s stiff.

If at this point the brakes still aren’t properly tensioned, next we’re going to move down to the wheel and the brake callipers. You can leave the barrel adjuster untightened at this point.
How To Adjust Brake Pads

- Put on a pair of Muc-Off Mechanics Gloves.
- Get the appropriate tool to loosen the mounting nut which is securing your brake pads in place. This may be an Allen key, Torx screwdriver or possibly even a Philips screwdriver. Which tool you will need to use for this part will depend on which type of brakes you have. Our 8-in-1 Multi-Tool might do the trick too.
- Whilst the bolt is loosened, your brake pads should be able to move around now freely. Adjust them so that they are square and lined up with your wheel rims. They should follow the curvature of the rim.
- Leave a small gap between the brake pads and the wheel rim. Not so close that they’re rubbing against the rims themselves, as this will cause squeaking and faster wear on your brake pads. You’re looking for around a 1.5mm gap between the brake pads and the wheel rim.
- Tighten up that mounting nut again so the brake pad doesn’t move. You’ll want to hold the brake pad at this point, so it doesn’t move around while tightening.
- Test your brakes at this point to make sure it engages with the rim, and that they are still square and inline after tightening up.
- Lastly, while you’re maintaining your bike, you’ll want to spray some Disc Brake Cleaner onto the brake pads, which is also suitable for rim brakes. This will help to improve brake performance, whilst prolonging the life of the pad and reducing squeal. Wipe away any excess with a Luxury Microfibre Cloth, making sure none is left on the tyre.
Now you'll got your brakes tightened and tensioned to perfection, check out How To Stop Bike Brakes From Squeaking.