Muc-Off UK
 Muc-Off EU
 Muc-Off US
 Deutsch
 Francais
 Espanol
 Italiano
 Nederlands
 Polski


Looking to convert your road bike to tubeless? Of course you are!
Our research shows that roadies get more punctures than MTBers, yet MTBers are more likely to have ditched the tubes, and with benefits like more speed, lower weight and better rolling resistance, making the switch to tubeless on your road bike is a no brainer!
So, how’s it done? Well, the most important thing you’re going to need (other than a road bike with tubeless-ready wheels and tyres), is one of Ultimate Road Tubeless Setup Kits. This kit contains everything you need to make the switch from tubes to tubeless quickly and easily – Right. Let’s get to it…
Rather watch the video?
Check out our video on how to set up tubeless on your road bike.
Or if you'd rather read how to do it, check out our step by step guide below:
Step 1: Remove the Rear Wheel:
To start, remove the rear wheel by removing the axle. Once the wheel’s off, undo the valve and release all the air. Move the bead of the tyre into the centre of the rim to make it easier to get your Rim Stix Tyre Lever under the bead, then remove the inner tube and tyre from the rim.
Step 2: Remove the Old Rim Tape:
Remove any old rim tape and clean up any residue - our Glue and Sealant Remover works wonders. This step is important to ensuring a smooth surface for the new rim tape, so it adheres to the rim properly and no air escapes.

Step 3: Install the New Rim Tape:
Install the specific size Rim Tape you need for your rims. You want to start a quarter of the way round the rim from the valve hole, pulling it in a downwards motion tightly, maintaining the tension in the tape while wiggling left and right it into position down the centre of the rim profile. Make sure the centre of the tape is dead central to the rim and cut it at a 45-degree angle to avoid peel back. Use the supplied sticker on the join to avoid lift. Pierce a very small hole through the tape and the valve hole and insert your tubeless valve, making sure to remove the locking nut and O-ring.

Step 4: Install the Tyre:
Next, install the tyre back onto the rim. If there's any difficulty, use Rim Sticks to help. Remove the valve core using a valve core remover (Our Rim Stix have one built in) and pull the entire thing out. Grab a track pump, cannister pump, compressor, or CO2 cannister, and give the tyre a quick rush of air so the tyre bead pops into the rim.
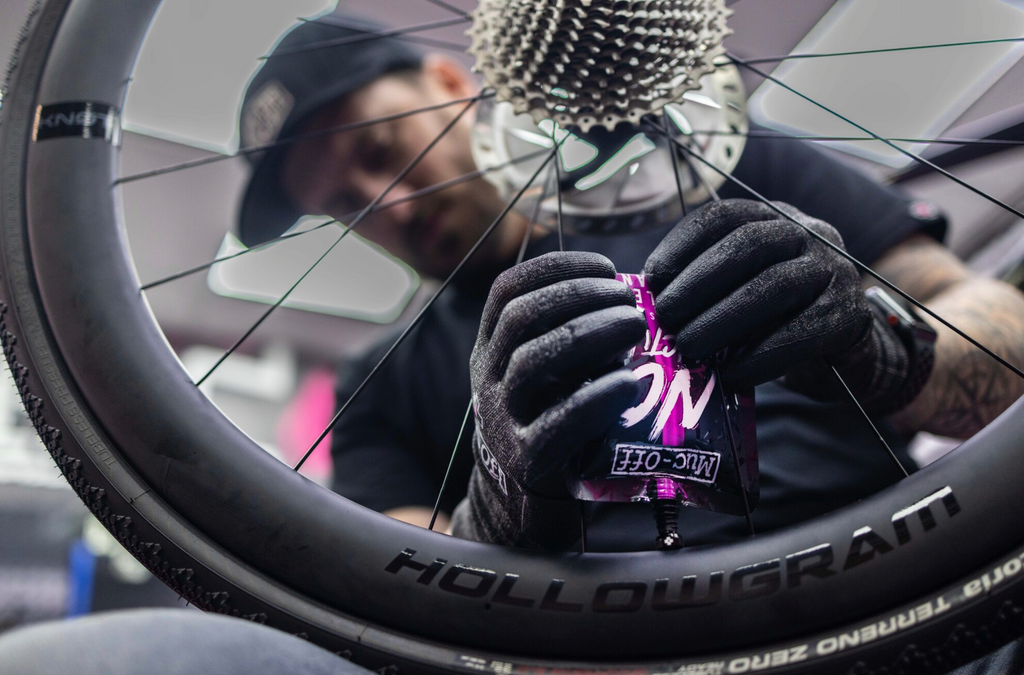
Step 5: Add Sealant:
Once the bead is in place, release all the air again and add Tubeless Sealant to the tyre – (The amount required varies depending on the tyre width so check with the tyre manufacturer for how much to use). Start at the twelve ‘o'clock position and turn the wheel round to six o'clock while squeezing in the sealant. Return to twelve ‘o’clock and put the valve core back into the valve – Be sure to wipe off any excess sealant which sneaks out.
Step 6: Pump It Up:
Finally, pump up the tyre again, and you're done!
Now head out and ride uninterrupted with those lower tyre pressures, fewer punctures, more comfort, more speed, and less weight - Now tell us those aren't some of the easiest gains you ever made!